Display modes
3D entities can be displayed in one or multiple 3D views. Several display modes can be set in each 3D view.
Main display modes
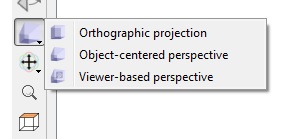
The orthographic and perspective modes can be enabled at any time thanks to the 'Set current view mode' icon in the left toolbar:
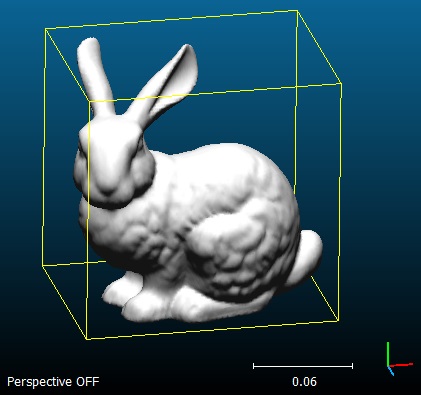
 Orthographic view
This is the default viewing mode. It is a parallel projection (i.e. parallel lines never cross).
See http://en.wikipedia.org/wiki/Orthographic_projection for a bit of theory.
Note: in this mode, a white scale is displayed (in the bottom right corner of the 3D view). Its actual dimension in the current coordinate system is displayed below.
Perspective view
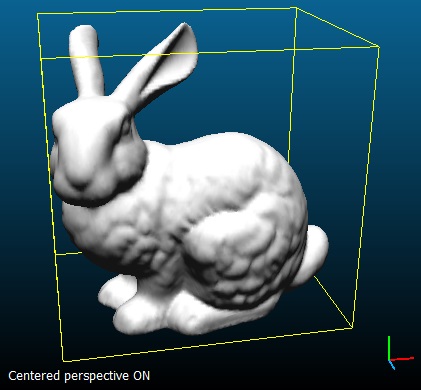
The perspective projection consists in projecting a 3D scene on a 2D plane as if it was seen by the human eye (or a single camera).
The main parameter for this mode is the field of view (f.o.v.). It can be changed via the Camera settings.
See http://en.wikipedia.org/wiki/Perspective_(graphical) for a bit of theory.
Notes: in this mode, no scale is displayed as the 'width' depends on the actual depth of each pixel.
There are two types of perspective modes in CloudCompare.
 Object-centered
In the 'object-centered perspective' mode, the object rotates when the user moves the mouse while pressing the left button (the camera orientation is fixed). Using the mouse wheel will make the object farther or nearer from the current point of view.
Note: this mode can be toggled with the 'F3' shortcut.
 Viewer-based
In the 'viewer-based perspective' mode, the camera rotates when the user moves the mouse while pressing the left button. And using the mouse wheel make the camera move forward or backward in the current viewing direction.
Note: this mode can be toggled with the 'F4' shortcut.
Fullscreen
CloudCompare has two different "fullscreen" mode:
- either a standard fullscreen application mode (shortcut: F9)
- or an 3D view exclusive fullscreen" mode (shortut: F11)
In exclusive fullscreen mode, only the active 3D view is made fullscreen (and will stay on top). This mode can be left by pressing on F11 again, or using the 'Leave fullscreen mode' icon that appears when the mouse hovers the upper-left part of the screen.
These options are also available via the 'Display' menu.
Bubble-view (polar)
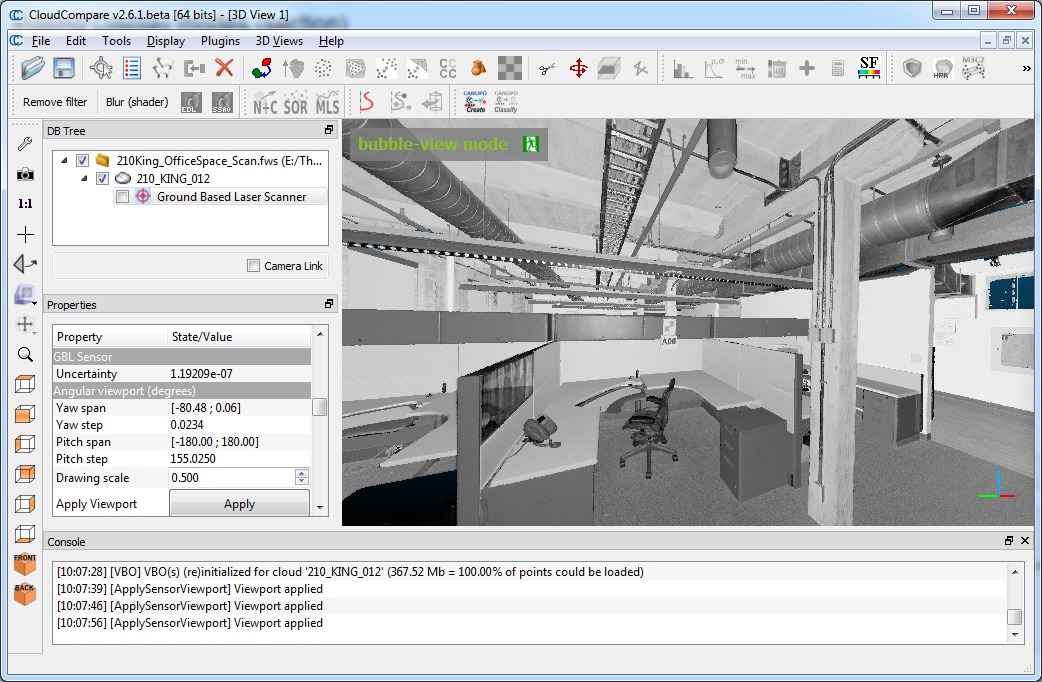
This viewing mode can be (properly) enabled via a 'GBL/TLS sensor' entity or a cloud associated to such a sensor. They are generally structured point clouds (PTX, FARO, etc.).
To enable this mode:
- highlight the sensor entity in the DB tree and click on the 'Apply' button in its properties (Viewport section)
- or press the B shortcut if a sensor or an entity associated to a sensor object is highlighted
While in this mode, the camera position is fixed (normally at the sensor center) and the user can only rotate it (with the left mouse button) or change the zoom (with the mouse wheel).
Note: in fact the zoom is simply obtained by modifying the camera field of view (f.o.v.). Therefore high optical distortion can occur after a certain point.
To leave this mode the user must click on the ![]() icon in the top left corner of the 3D view.
icon in the top left corner of the 3D view.
Stereo mode
To activate one of the stereo modes, the user must click on the ![]() icon in the left '3D view' toolbar.
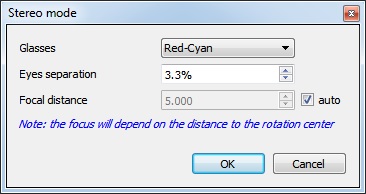
The following dialog will appear:
icon in the left '3D view' toolbar.
The following dialog will appear:
Simply click on the same icon again to deactivate this mode.
Anaglyph
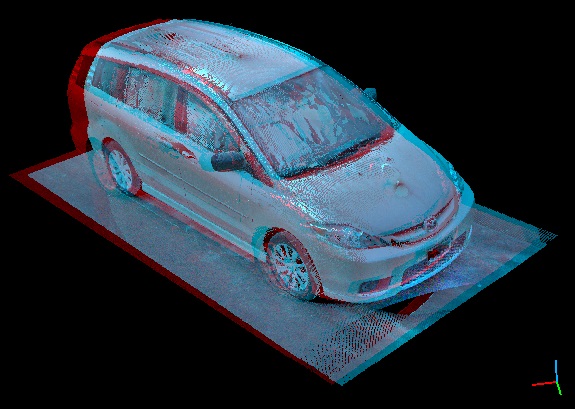
Since version 2.6.2, CloudCompare has a new 'stereoscopic' display mode.
This display mode should be used while wearing (cardboard) red and blue or red and cyan glasses.
The user must choose the right type of glasses (red/blue or red/cyan, and blue/red or cyan/red since version 2.7) as well as the eye separation ratio. Increasing this ratio will increase the stereo effect... but this can also cause an unnatural feeling and headaches ;). One can also choose to use a dynamic focal distance (so as to always focus on the current rotation center whatever the camera position) or a fixed focal distance (typically if you need to focus on a particular point in the scene - however moving around with a fixed focal might also be very strange and give you headaches ;).
Please note that:
- only perspective projection modes are compatible with stereovision (if the user attempts to switch to orthographic mode, CloudCompare will warn him and will ask him to confirm before leaving the stereo mode).
Note: OpenGL filters (shaders) might not be properly supported by this mode.
NVidia 3D Vision
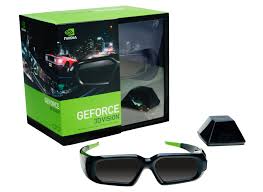
On Windows, since version 2.6.3 (and 2.7 'stereo') the NVidia 3D Vision glasses are supported.
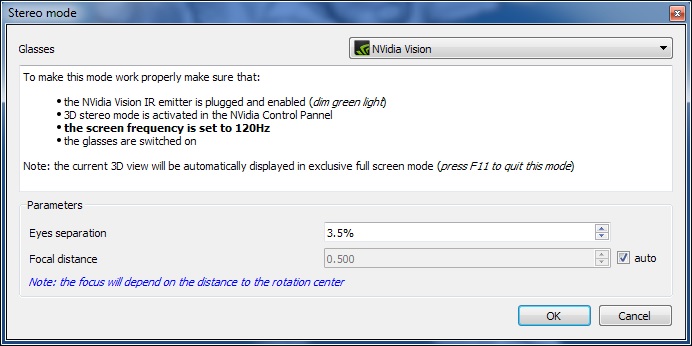
To use it the user needs the proper equipment (i.e. a high frequency screen) and follow the indications that appear in the dialog:
CloudCompare will automatically enter in 'exclusive full screen' mode (so as to actually trigger the screen flickering and the proper activation of the stereo mode by the driver). If this mode is left the stereo mode will be automatically disabled.
The exclusive full screen mode can be leaved in various ways:
- by pressing the F11 key
- by clicking on the 'Leave fullscreen mode' icon that appears when the mouse hovers the upper-left part of the screen
- by pressing F3 (which will make CC fall back to orthographic mode)
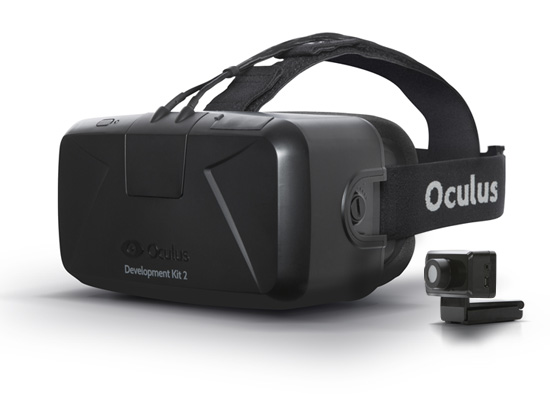
Oculus Rift
On Windows, since version 2.7 ('stereo') the Oculus Rift headset is supported (in early 'alpha' mode).
When this mode is enabled, nothing will appear in the standard 3D view and user will need to look inside his headset. However to rotate the objects the mouse cursor should still be above the 3D view. Using a 3D mouse helps a lot.
Make sure that the entities units are expressed in meters as this is the default unit for the Oculus.
And last but not least this mode works best in 'bubble view' mode (see above).
